
Start spring off with a bang with DIY Seed Bombs! Together, you and your children can celebrate the arrival of spring by planting flowers in this fun and unique new way.
What are Seed Bombs?
Seed Bombs are little balls of air dry clay mixed with compost and flower seeds. Simply drop them where you'd like them to grow, put more compost around them, let nature take its course, and BOOM! Soon your Seed Bombs will turn into beautiful flowers sure to brighten up any landscape.
How Can I Use Seed Bombs in My Lesson Plan?
Easy, engaging, and fun, this hands-on activity encourages children to learn about the life cycles of plants, explore the world around them, and discover why flowers are important to our everyday life. As you go through this activity together, you'll have the opportunity to teach children more about flowers such as how they grow, how to care for them, how honeybees and other pollinators interact with plants, and why flowers are more than just pretty additions to your garden! Seed Bombs provide endless learning opportunities for children and teachers, too.
For example, start a conversation about how flowers need water and sunlight to grow and stay healthy, much like how we need water and food to grow and stay healthy. Take the time to introduce children to new flowers that they may have never seen before, and ask them if they have a favorite flower.
Extend learning even further by discussing the importance of protecting and preserving the environment. Remind children that, as humans, it's important for us to help support the growth of new plants and other natural life on Earth. Be sure to convey the importance of planting new flowers and plants to your students and explain to them that doing so will help other people, animals, and even the plants themselves.
Materials
- Bucket (For mixing everything together)
- Air Dry Clay
- Compost
- Seeds (We used wildflower seeds but any seeds native to the region is okay)
- A flower pot, cup, or holder of some kind
1Create your Seed Bombs
First, get a container to create your seed bomb mixture in. It can be a bucket, planter, or anything you have around. Take your air dry clay, ball it up, and put it in the container. Next, pour some compost into the container and then add your seeds into the mix. Take the air dry clay ball and roll it around in the compost and seeds. As you do this, begin to pull the air dry clay apart and roll it into smaller balls. For reference, they should be slightly smaller than the size of a golf ball. Make sure you have mixed the air dry clay balls well with the compost and seeds.
2Plant Your Seed Bombs
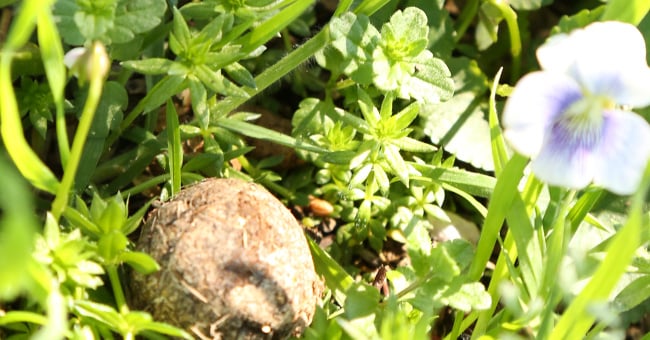
Once you have them all rolled up, it's time to drop those seeds bombs! You and your children will have multiple seed bombs and can decide where and how you'd like to plant them all! If you'd like them to grow in the grass, simply drop them in the spot you'd like for them to grow. You can also choose to place one seed bomb in a cup or multiple in a planter. Make sure to place compost at the bottom and overtop of the seed bombs as you place them in a cup or planter.
3Watch Your Seed Bombs Grow!
Check on them daily to see if they have grown any further. Eventually, your seed bombs should bloom into beautiful flowers!
Bonus Activity
Replacing Trash with Seed Bombs
Another way you can use Seed Bombs to encourage environmental responsibility in our children can be to help them replace trash with Seed Bombs. In a safe outdoor environment, place some clean trash–such as balled up paper–on the ground before class starts. Then, once you have made Seed Bombs with your students, have them go outside to pick up the trash and replace it with a Seed Bomb. This is also a good opportunity to teach children about the importance of keeping the Earth clean and litter-free.
Greet the arrival of spring with another fun arts and crafts activity! Browse our selection of related seasonal resources and start planning creative activities for your classroom.